Table of Contents
Introduction

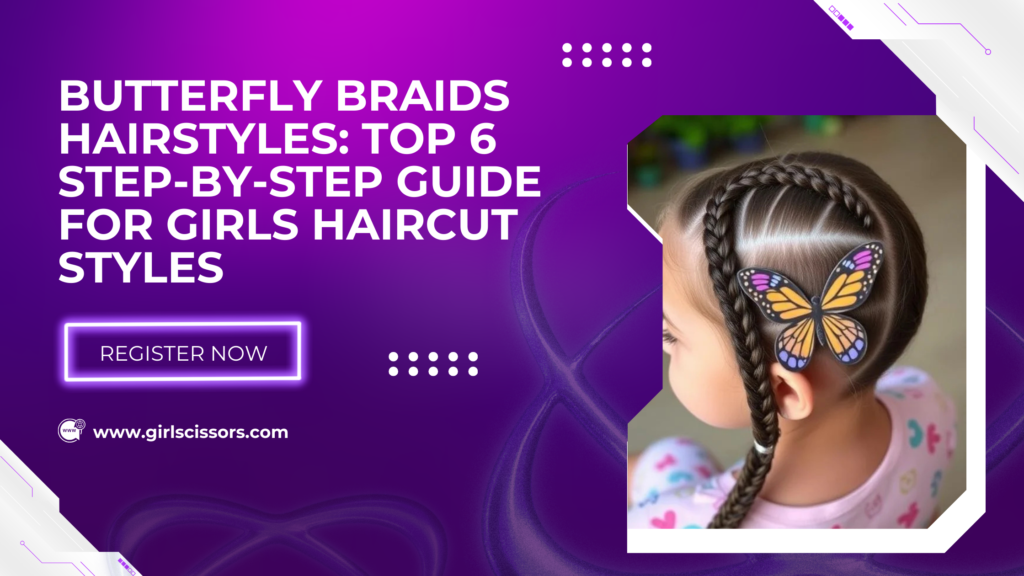
As with many other fashion-forward hairdo choices for little girls, butterfly braids have emerged as somewhat of a phenomenon. The design of the hairstyle unites the complicated conciseness of braidwork and the distinct, light, and even flighty disposition of a butterfly. Any person who wants to look beautiful for any occasion or even wants to make a simple style sophisticated will enjoy butterfly braids. So, in this blog post, let me walk you through some simple instructions on how to make butterfly braids – the 6 best steps to take – so that even those who are still very new to the art of braiding hair can attempt this look with some ease!
What Are Butterfly Braids?
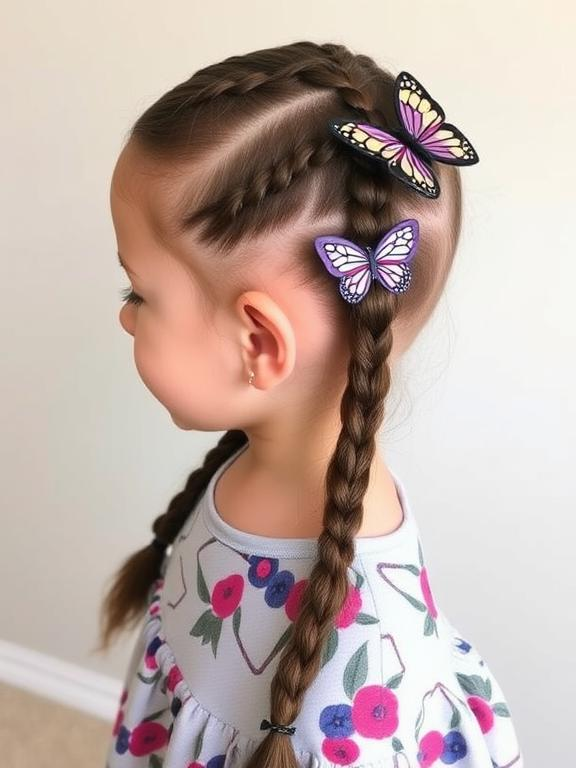
Butterfly braids are an exquisite development of basic braid styles; the hairstyle that resembles the wings of butterflies. It should be noted that the distinctive characteristic of butterfly braids is the loft soreness arising from loops and twirls incorporated in commonly braided work. This hairstyle can be achieved in several ways depending on the type of braid one is interested in; fishtail, French or Dutch braid.
Compared to other braid hairstyles, butterfly braids are a bit fanciful and are quite easy to identify. The loops within the braid are also in the style of the butterfly because they rise from the scalp, and the hair appears feather-like light.
Why Choose Butterfly Braids?
In particular, butterfly braids are suitable for girls who like trying new hairstyles. They give it volume, texture, and movement which makes them not only stylish but useful as well. Butterfly braid hairstyles can be made with long, medium, or even short hair and will look lovely on anyone. Also, they are appropriate for all types of events whether informal or formal affairs.
Also butterfly braids can also be made on straight, wavy, and curly hair types because of their flexibility. To achieve that kind of look you need to have your hair well conditioned and then go about the steps right to creating that butterfly look.
Step-by-Step Guide: How to Create Butterfly Braids
Butterfly braids are stunning and look complex at first look but after following the correct procedure as depicted above, the beauty will grasp you and you will master the art of doing butterfly braid looks. Here is how you can master Butterfly braids:
Step 1: Prepare Your Hair
To give the butterfly braid effect, there are some preparations that you need to take before doing it. Begin with washing your hair with extra moisturizing shampoo and conditioner to help it be silk-like and not tangled. When your hair is washed you may use a courteous leave-in conditioner or detangler to work with.
Second, do not wash with water or blow dry the hair or let it dry naturally. Make sure you have your hair dried up before the braiding starts because wet hair is slippery and difficult to braid.
Step 2: Section Your Hair
After washing and when your hair is dry, then you use the comb to part your hair in two. It is also good to either have a middle or side part if you so wish it apart from that do not hesitate to try other styles.
If you want to give yourself a clear and more polished look, then you can make two parts starting at the side of your head and then splitting those two sections into even smaller parts. These small sections will assist you in creating the loops for the butterfly effect. If the hair is short you may need to make the sections smaller to ensure that when braiding the hair, it doesn’t unravel easily.
Step 3: Start Braiding
Now comes the fun part: braiding. For butterfly braids, you’ll start by making a regular braid; either the French, Dutch, or even the fishtail braid along the part of the hair. Now you think that it is time to braid then ensure that it is not too tight on the strands. The actual basis for the butterfly effect that will be discussed here relies on the slacker occupying more volume in terms of the size of the braid. Loose braids won’t also help to form the butterfly-like shaped hair.
Here’s how to create a basic French braid for butterfly braids:
- Start right at the hair root and then section the hair into three parts.
- Bring the right section up over the middle section and then the left section over the middle.
- When you go on braiding, ensure that you link new hair to each segment of the hair you already have. This creates a French braid.
- Don’t pull the sections too tight and braid as you get to the end of the braid, with the last braid of the hair.
For the fishtail braid or the Dutch braid, substitute the braiding with these options but remember to keep the braid relaxed.
Check Out: Butterfly Bob Cut: A Modern, Versatile Girls’ Haircut Style.
Step 4: Create the Butterfly Loops
Once the braid is done, it’s time to make the butterfly loops that violate the hairstyle. Here’s how you can do it:
- It can be opened by pulling on each of the sections of the braid subtly. First, there should be an emphasis on the outer zones of the braid, predominantly those elementsthat cann be in direct contact with the skin of the scalp zone.
- Raise the outer strands and bend slightly then squeeze between the thumb and index finger. These loops will form the butterfly effect The described idea of loops that form the butterfly effect can be explained with the following graphical illustration:
- Go on pulling with your hands and lifting and pulling at different developmental periods along the braid You don’t have to worry if the loops are not round or of equal size, to create this irregular shape is what makes it endearing like the wings of butterflies for butterfly braids.
If you wish to get more volume on your butterfly braids, then blowing the hair a little with a comb is also recommended before creating the loops. This will help add even more to the thickness of hair as well as to the texture.
Step 5: Secure the Braid
When you have formed butterfly loops you now need to anchor the braid on the end of the rope. Secure the braid using a clear elastic band which would keep it tied and in position. If you do not like something formal, you can just gather your hair and tug on a braid, leaving some of your hair loose to fall freely.
To enhance its security, one can fix every flyaway part of hair that was not elaborated in a braid with bobby pins. Make sure that they are confined and looped so that the butterfly look is not lost despite the fact they are held firmly.
Step 6: Final Touches
Congratulations fonreaching this stage, your butterfly braids are now done and ready to be customized. Alternatively, one may also wish to spray a light-holding power hairspray on the loops to set. This will also help bring a unique just-out-of-bed look with some control over flyaways and some shine to the hairstyle.
Just like any other hairstyle an also add some hair clips, beads,, or ribbons around the butterfly braids for a bit of an interesting twist. These accessories are always useful in complementing the general outlook of the hairstyle, especially during functions such as parties and weddings.
Tips for Perfect Butterfly Braids
To help you achieve flawless butterfly braids every time, here are some pro tips:
- Use Texturizing Products: For your hair that is thinning or flat, use a texturizing spray before you start braiding so that there can be some hold.
- Practice the Loops: It’s all about the loop when making these butterfly braids. If you are having difficulty with these two you may want to practice using a small section of hair first.
- Experiment with Different Braids: When doing the butterfly braids, you can use French and Dutch braids; however, for different looks, there is no harm in combining the fishtail braids.
- Ensure Even Loops: It is best to have a uniform distribution of the loops along this braid for an aesthetic sense. In this case, if some loops are made larger than the other, the style formed will be an unbalanced one.
- Loosen Gradually: When forming the loopholeot pull the braid too hard or tight. Slowly unravel the braid to retain the detailing but also to reach the fluffy, butterfly-type look.
Conclusion
Butterfly braids are stunning, eye-catching, fun, and perfect for boys and girls of all ages as well. Due to their looping designs and the rather generous outward dimensions, they are going to draw attention wherever one goes. Butterfly braids are not a challenging hairstyle to achieve if you follow the six easy steps described in this guide. Here there is a reminder to vary the braid themselves and the accessories to make the result look different each time!
You now know how to make these fantastic butterfly braids – so grab whatever hair masking tape you have on hand and go for it; consider this a new ornament in the arsenal of hairdos. Butterfly braids, whether worn daily or during formal occasions to enhance the beauty of the look, are marvelous and excellent.
For more info: Click Here.
FAQs
Q1: Can I create butterfly braids on short hair?
Yes! Still, butterfly braids can be done on short hair, although the procedure might not be similar to that for the long hair type. You will have to subdivide the hair and make the braid less tight to achieve that butterfly-like big look. There are also the so-called mini butterfly braided hairstyles if your hair is short.
Q2: How long does it take to create butterfly braids?
When making butterfly braids you need approximately 20 to 30 minutes, given your hair length, and density, and if you have prior experience on how to create it. When doing it for the first time, it may take some time to create the loops and to get the required appearance but once you have practiced you’ll find that you’re more efficient.
Q3: Are butterfly braids suitable for all occasions?
Absolutely! That is why butterfly braids can be used for both formal and casual occasions. Butterfly braids can be worn whether going to a regular event, a business meeting, or even a wedding. Or just try to adjust the volume and the accessories according to the level of formal or inforeventssvent.